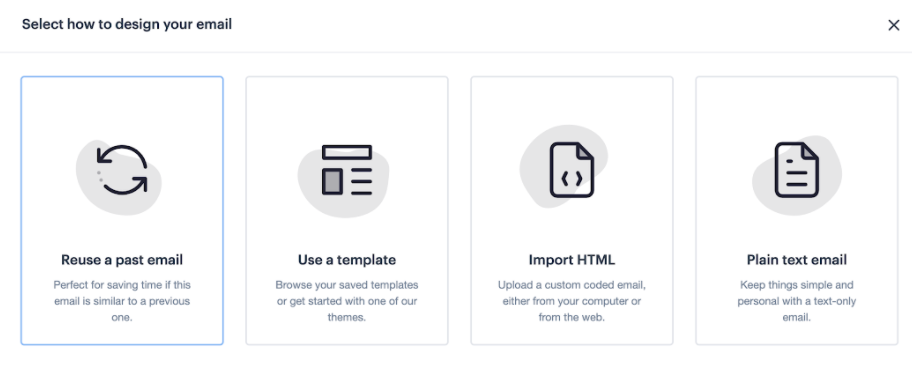
Instead of starting with a saved template and adding content to it, you can import custom coded HTML emails, either by uploading the email files from your computer, or importing from the web.
Import emails from the web
The method for importing an email that is already uploaded to the web is different depending on whether you are working on a campaign, or journey.
Import HTML for campaigns
- Create a new campaign, then click Design email
- Click Import HTML
- Click From the web
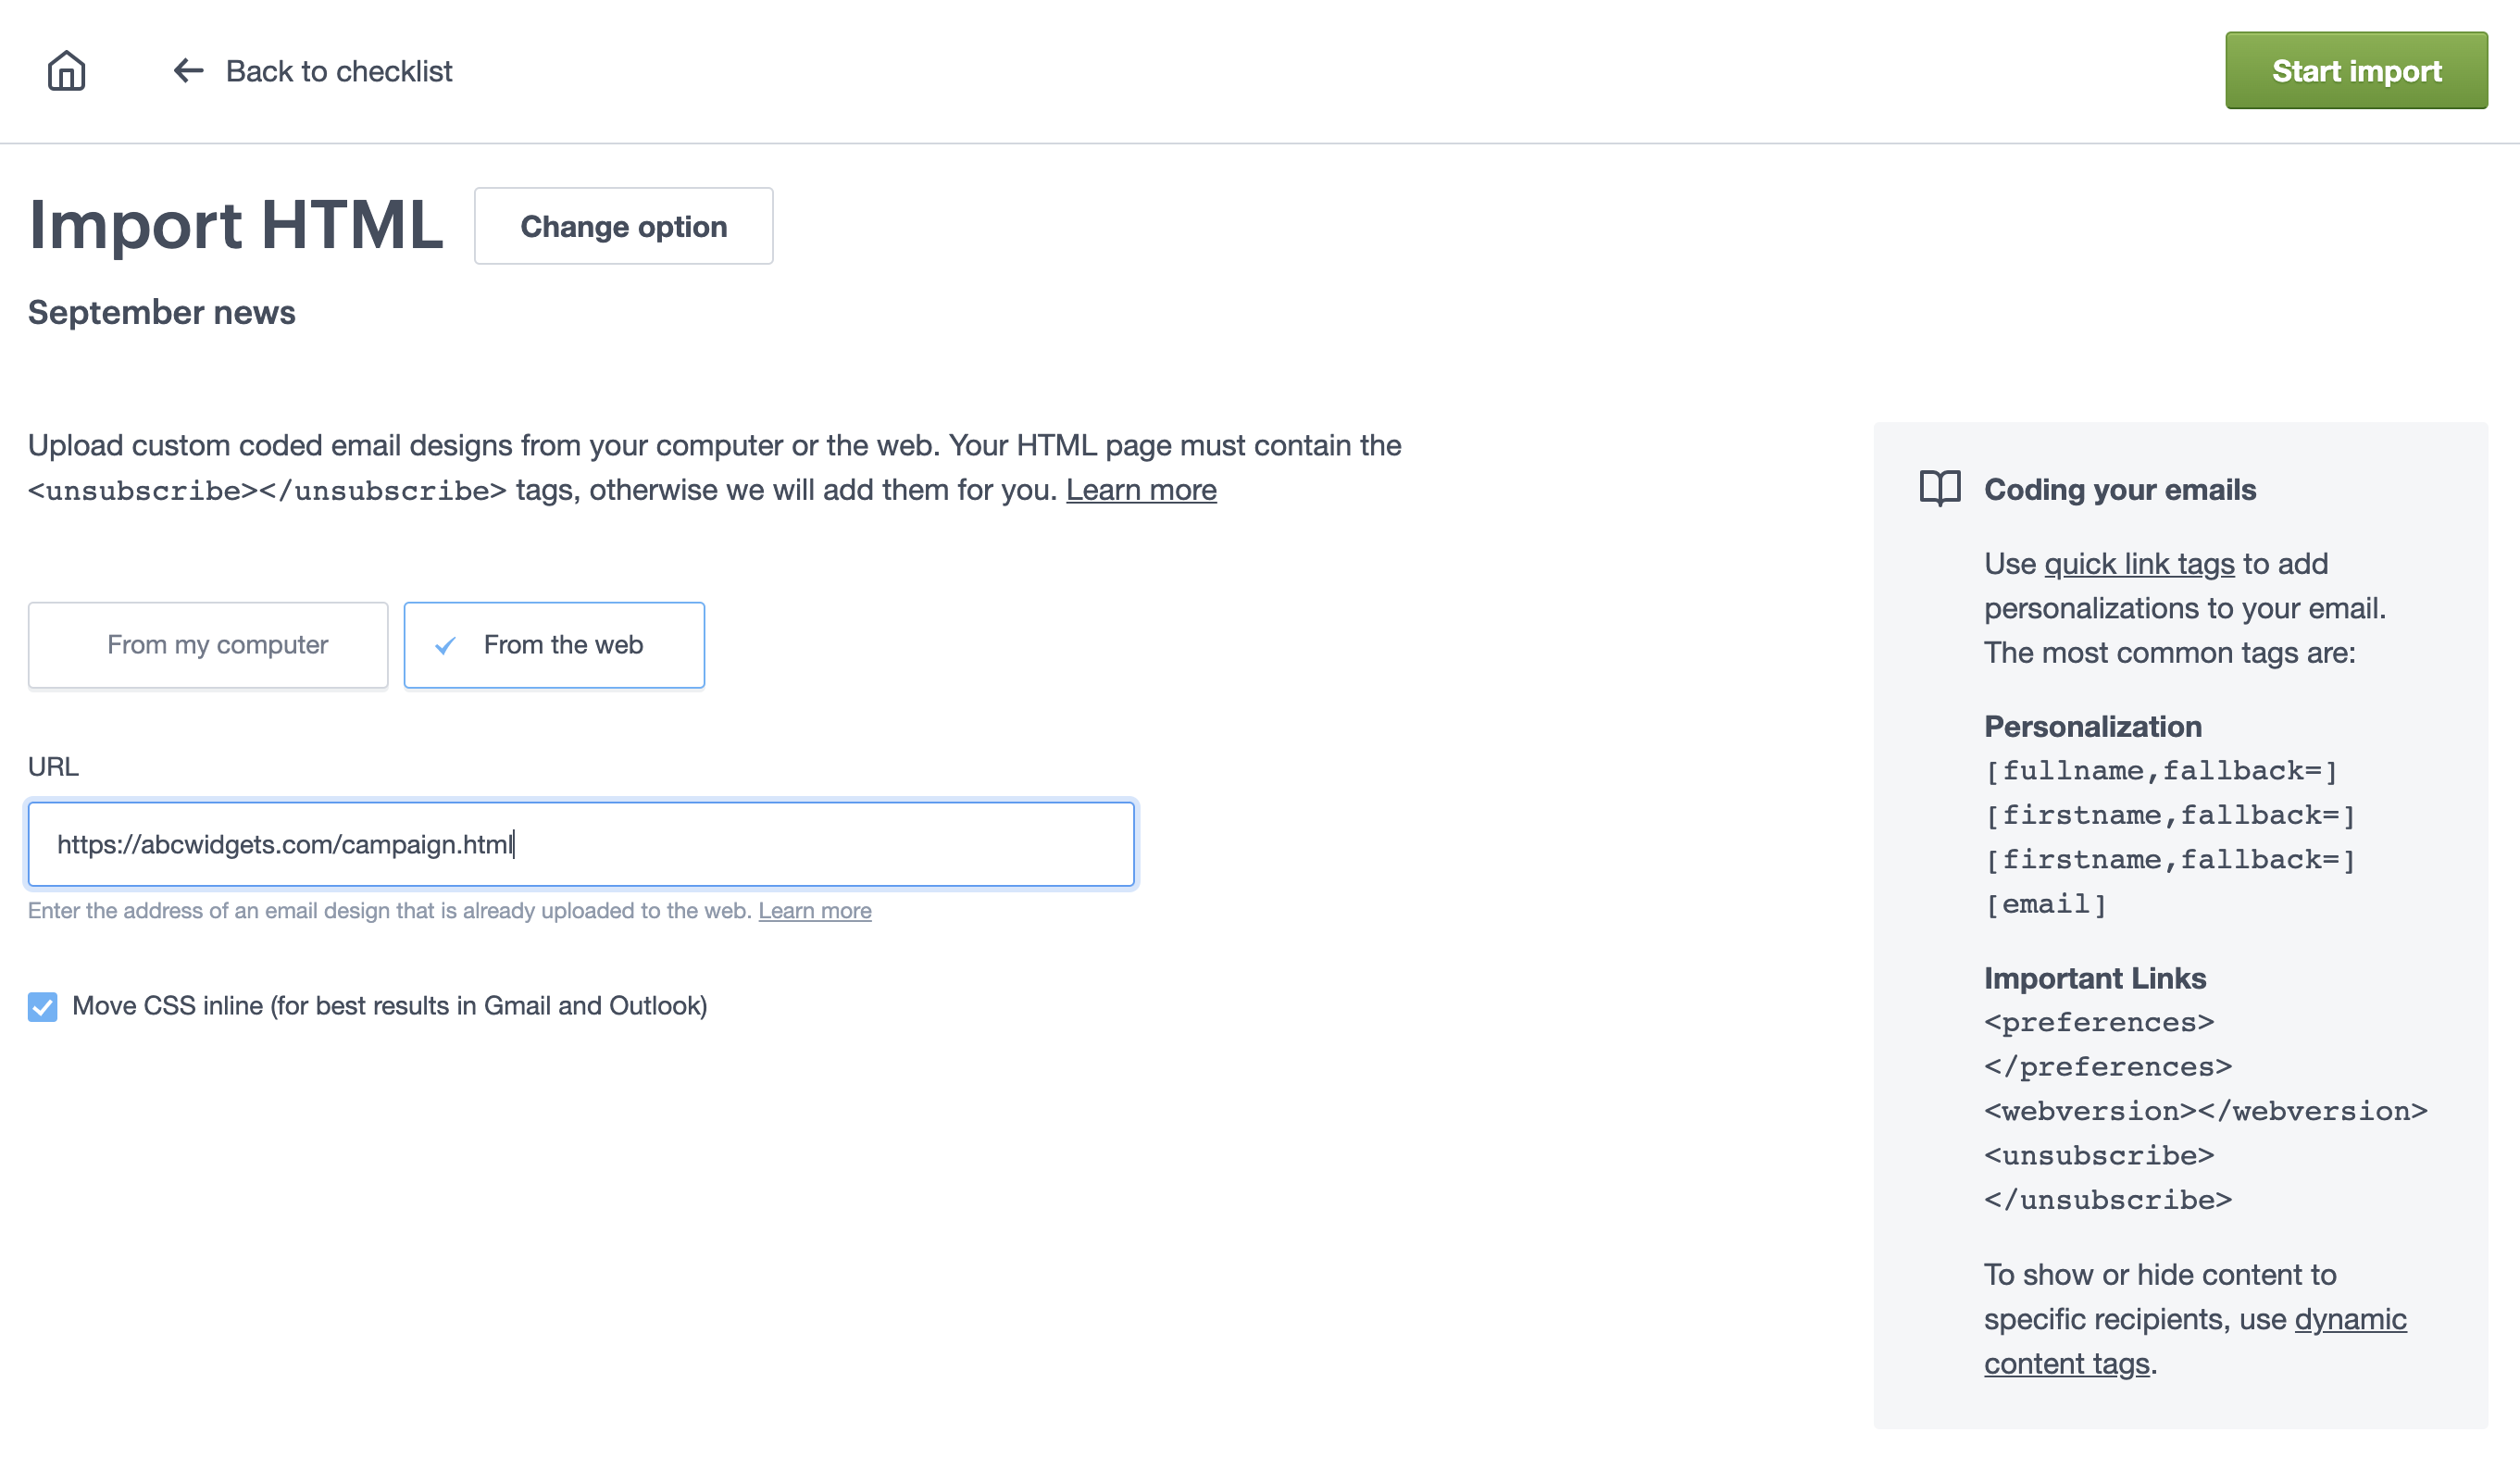
- Enter the URL of the HTML file for your email.
- In most cases, you'll want to select the option to move your CSS inline. This prevents styles being stripped out by some email clients.
- Click Start import to import the custom coded email.
Import HTML for journey
- Create a new journey, then follow the on-screen instructions until you reach the "Choose a starting point" screen.
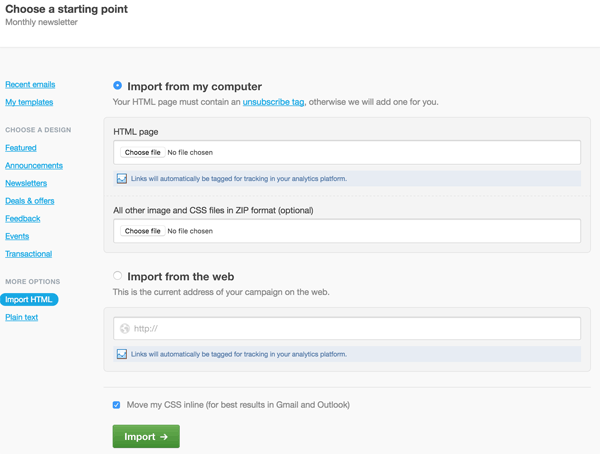
- Click Import HTML.
- Select Import from the web.
- Enter the URL of the HTML file for your email below "Import from the web".
- In most cases you'll want to select the option to move your CSS inline. This prevents styles being stripped out by some email clients.
- Click Import to import the custom coded email.
Preview and editing campaigns
The process for previewing and editing imported HTML also depends on whether you're working on a campaign or journey.
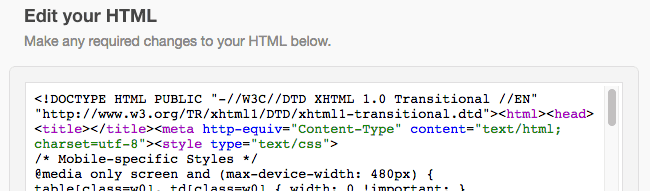
For campaigns, if the campaign imports successfully, you'll see a preview of your email alongside an editor window.
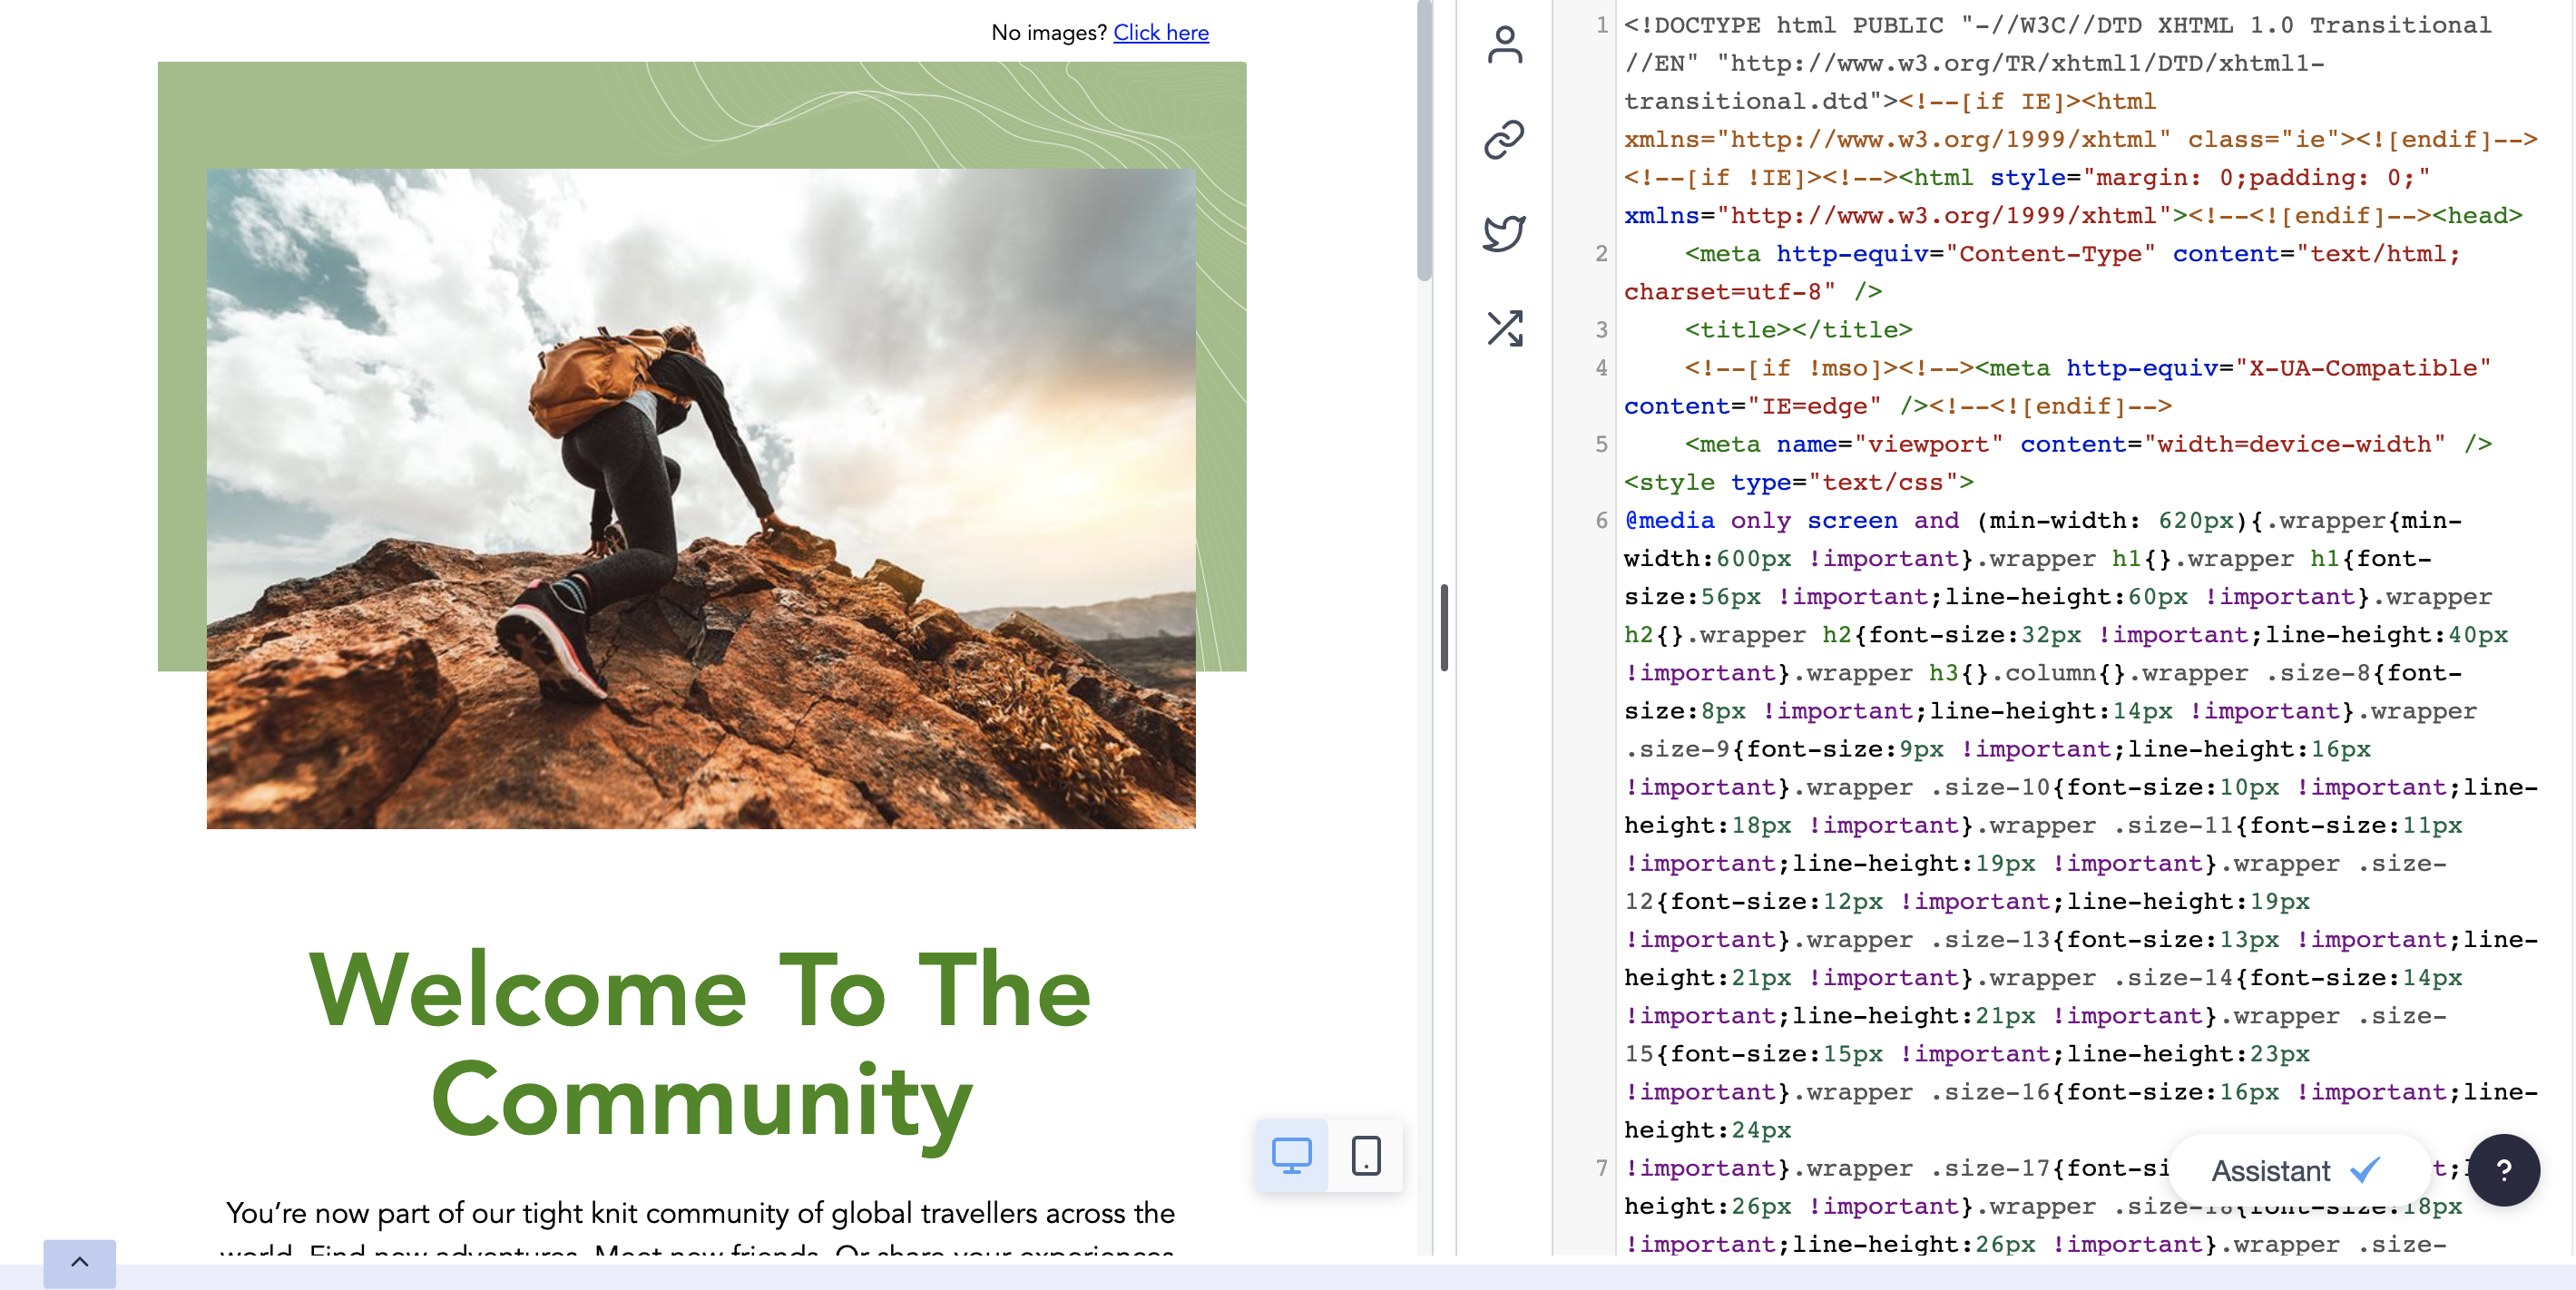
The Assistant will pop up if there are any potential problems in the code.
From here, use the computer and mobile icons to see how your email will look on different devices, and click Send a test email to send yourself a test to make sure everything looks as expected.
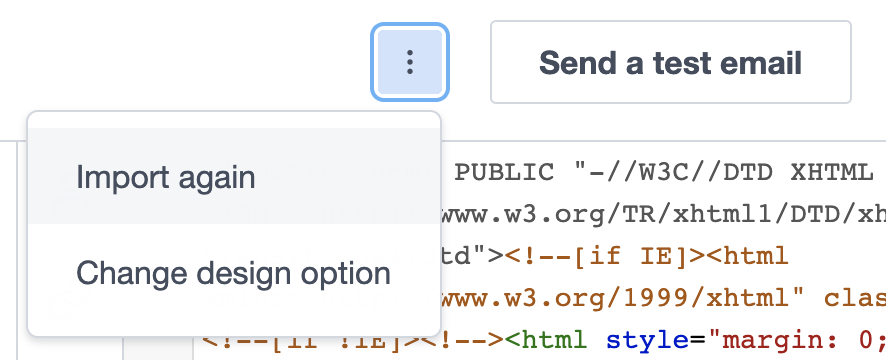
The editor window on the right is where you can quickly make and review changes to your code. If you need to update and re-import the HTML, open up the three-dot menu at the top of the screen and click Import again.
You can discard any changes you aren't happy with by clicking Back to checklist or simply leaving the editor without saving.
Once you're done, click Save & next to save your changes and return to the checklist.
Previewing and editing journey emails
For journey emails, if not issues are found in the code after importing, you'll see a notification that the campaign has been successfully imported.

Use the Preview it and send a test email links, pictured above, to preview the email and send yourself a test to make sure everything looks as expected.
From here, if you aren't happy with the preview you can update the HTML file on your computer and Re-import the campaign. Alternatively, if you've imported HTML for a campaign, you can select edit the HTML and click Next to access our in-app HTML editor.
You can also access the in-app HTML editor, or re-import your HTML after importing. On the "Create Smart Email" page, in the "Content" section, click Edit HTML or Re-import.
Plain text editing for campaigns
The next step is to format the plain text version of your imported email.
For campaigns, the text version is automatically generated whenever you save the imported HTML. Click Manage plain text version right under the image of your campaign to view or customise it.
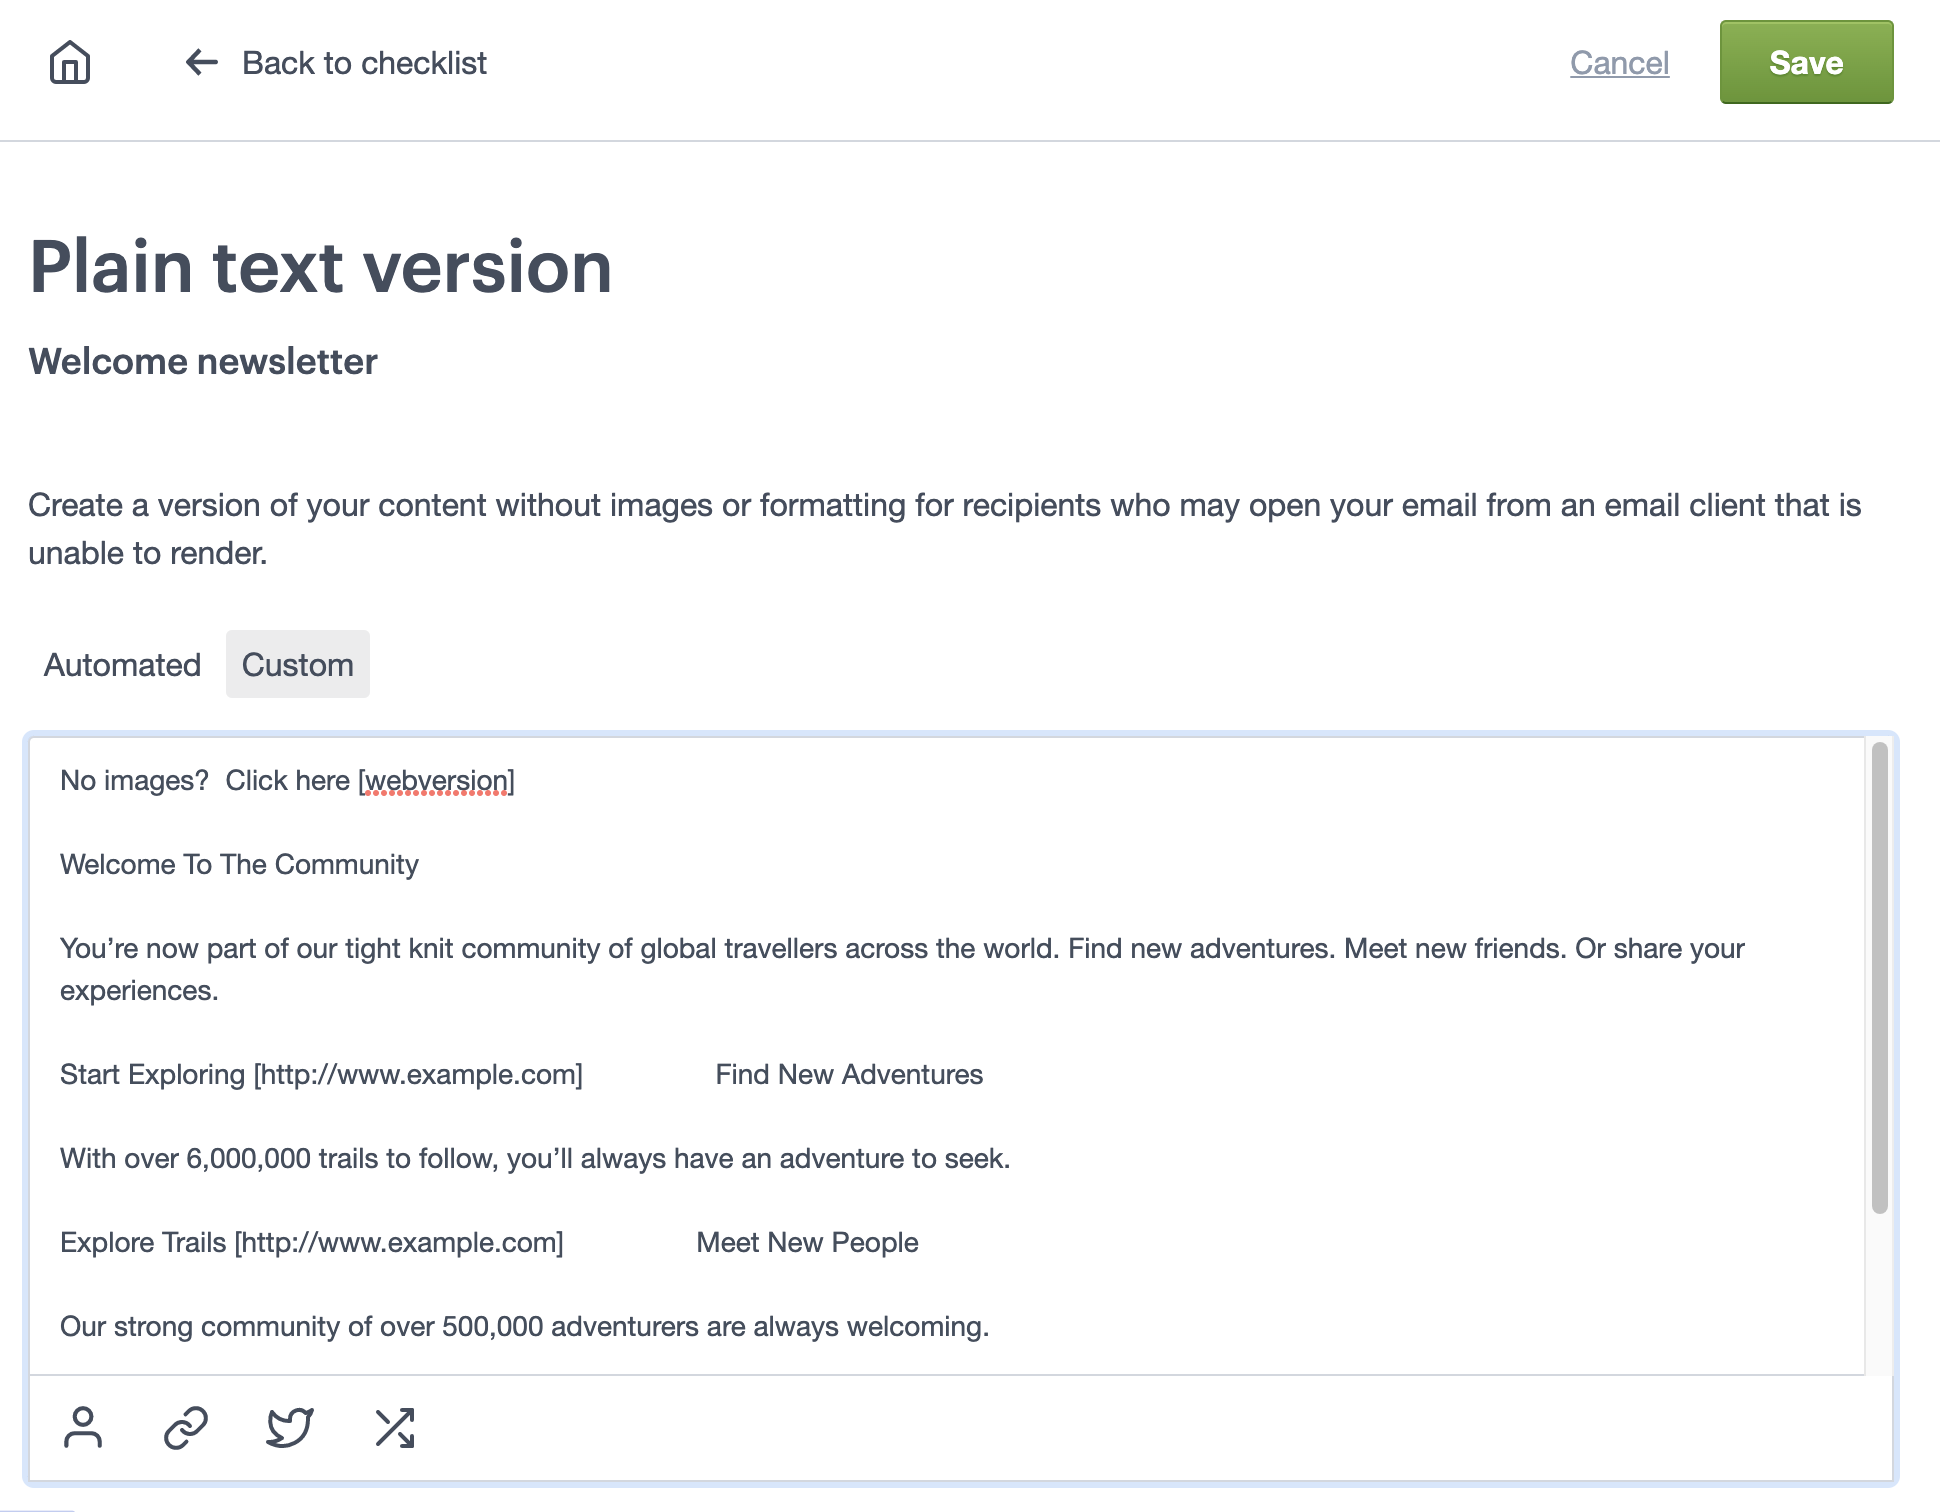
The generated text does make some intelligent guesses about text layout, but it's wise to read it over and adjust where necessary. Use the icons at the bottom of the editor to add personalisation or important links, such as unsubscribe links.
When you're done, click Save to return to the checklist.
Plain text editing for journey emails
When you are creating a journey email, the plain text version is immediately loaded after you confirm you are happy with the import preview.
When you see the plain text email editor, click import it from your HTML to bring in text from your HTML version.
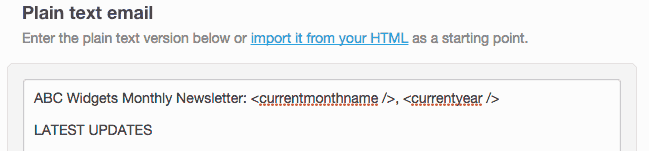
Although this makes some intelligent guesses about how text should be laid out, you should still read it over and make any appropriate edits. Alternatively, you can enter your own plain text version directly into the text editor.