Any subscriber information you collect can be used to personalise custom confirmation pages — that is, the page displayed after someone subscribes, or unsubscribes, from your mailing list.
For example, you could set up a "thanks for subscribing" page in multiple languages so people are greeted in the language they select when signing up. Or, to add a personal touch to an unsubscribe confirmation page, you could simply include the person's name.
- Example
-
Sorry to see you go Sally. You have successfully been removed from this subscriber list.
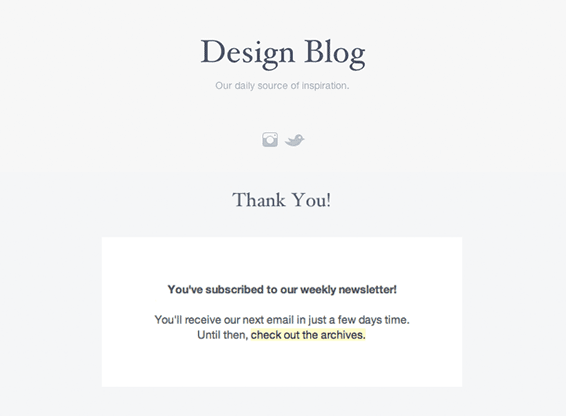
If you haven't already, check out our article on customizing confirmation pages, which explains how to replace our default success pages with your own. For example:
To take it a step further and personalise a confirmation page you need to:
- Pass custom field values through to the web page in the query string.
- Add JavaScript (or another scripting language) to your custom confirmation page, which will use those custom field values to modify the page content.
This is an advanced user topic that requires programming skills to complete. Our demo tutorial below for personalising a subscription confirmation page includes a jQuery code sample, for example purposes only.
Personalise a subscription confirmation page
For this demo, we'll set up two different subscription confirmation pages for a pet supplies company. When people sign up for the store newsletter they select which kind of pet they have " a cat or a dog " and a personalised confirmation page is shown.

Through the use of some JavaScript, subscribers who select "dog" will see the page pictured left, and subscribers who select "cat" will see the page on the right.
Set up a custom field to collect subscriber data
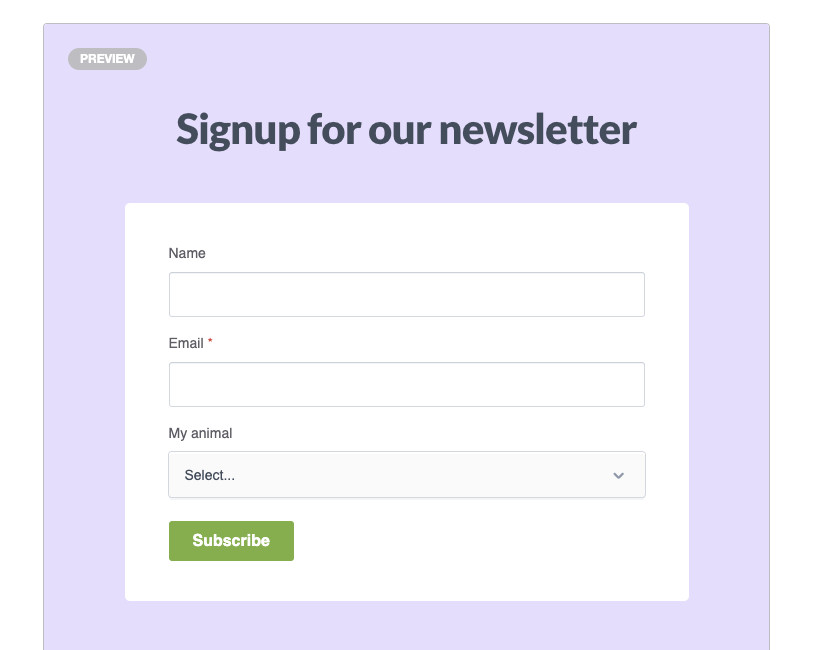
To achieve the above, first we created a custom field named "My animal" with two options to choose from: cat or dog. For this demo to work, the custom field data type must be Multiple options (can only select one).
Create an HTML subscribe form using the custom field
Design an HTML subscribe form that includes the custom field you're basing the personalization on.
If you are instead setting up a personalised unsubscribe confirmation page you can skip this step. You'll need to work with custom field data already collected from subscribers.
Add some scripting language to your custom confirmation page
To modify the confirmation page you'll need to have a script which picks up the custom field values from the query string, and outputs them in the right place.
Here's a very basic jQuery script example which will show one of two images, depending on the value of the "MyAnimal" field for each subscriber.
<div id="animal-cat" style="display:none;"> <img src="http://www.abcpets.com/welcome/cat.jpg" /> </div> <div id="animal-dog" style="display:none;"> <img src="http://www.abcpets.com/welcome/dog.jpg" /> </div> <script src="http://code.jquery.com/jquery-1.11.0.min.js"></script> <script type="text/javascript"> $(function () { var animalMatch = location.search.match(/animal=([^&]+)/i), animal; if (animalMatch && animalMatch[1].length > 0) { animal = animalMatch[1].toLowerCase(); } $("#animal-" + animal).show(); }); </script>Replace the default confirmation page with your custom web page
The final step is replacing the default "success page" URL with your custom page URL. To do this:
- Click Lists & subscribers, then click on the relevant list name.
- Click Settings in the left menu.
- Click Subscription success page from the Subscribe options.
Replace the existing content in the "URL" field with your custom URL, and add your query string to the end of that URL. For example, the custom page URL and query string for our demo would look like this:
http://www.abcpets.com/thanks?animal=[MyAnimal]When the subscribe form is submitted the personalization tag, [MyAnimal], is replaced with the animal selected. If "cat" is the selection the new subscriber is directed to this URL:
http://www.abcpets.com/welcome?animal=catAnd the custom confirmation page displayed is this:

When you're done, click Save changes.
Handy to know
- You can pass through multiple values in a query string, for example:
?name=[FirstName]&user=[Email]&animal=[MyAnimal] - To make sure the personalization values are passed through to your page correctly, you'll need to test with a real campaign send. When you send a quick test email, the tags in the URL are not replaced with the value.