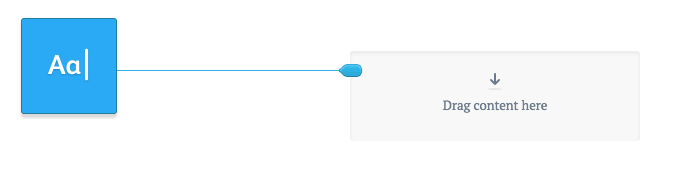
When using the email builder, you can drag and drop a "Text" block into a section column, then add headings, lists, quotes and normal text in a variety of fonts, sizes, styles and colours. You can also add links and personalization.
Default fonts and styles
The default fonts and styles used for the email are set when you create a template. You can edit these fonts and styles when building an email that uses a template, although changes will stay specific to the email and will not affect the original template.
To edit default fonts and styles:
- Click the cog icon in the "Build" menu on the left.
- Change the settings in the "Colours and fonts" section.
Text block fonts and styles
There are 7 default font types available in the text toolbar that show when you click the text block: Heading 1, Heading 2, Heading 3, Normal text, Numbered list, Bulleted list, and Quote. These defaults can be overridden at any time by selecting an option from the font style or numbered dropdown menus in the text toolbar, as shown in the image below.

Font compatibility
While the fonts you choose will display as expected in the email builder and the web version of your email, they will display differently depending on the devices and email clients your recipients use. Learn more.
Font colour
Change the colour of the text by clicking on the colour option represented by an "A" in the text toolbar. For quick access, any recent colours that have been used in the campaign that you are currently working on will display at the top or you can select a new colour manually.
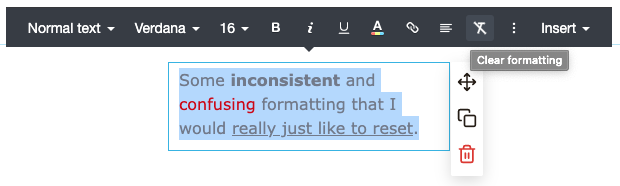
Clearing formatting
The Clear formatting option in the text toolbar removes any custom styles that have been applied to the selected text and restores the text defaults (whether it's Normal text, Heading 1, etc).
Keyboard shortcuts
The text toolbar also has several keyboard shortcuts available for quick access to easy text formatting. The keyboard shortcuts will become visible when you hover over the element and they vary based on the device you are using.
| Keyboard Action | Windows / Linux | Mac |
| Bold | Ctrl B | ? B |
| Italics | Ctrl I | ? I |
| Underline | Ctrl U | ? U |
| Superscript | Ctrl . | ? . |
| Subscript | Ctrl , | ? , |
| Strikethrough | Ctrl — S | ? — S |
| Align Left | Ctrl — L | ? — L |
| Align Right | Ctrl — R | ? — R |
| Centre Text/Alignment | Ctrl — E | ? — E |
| Justify Text/Alignment | Ctrl — J | ? — J |
| Insert Link | Ctrl K | ? K |
| Clear Formatting | Ctrl \ | ? \ |
(The — symbol represents the Shift key, and — represents the Command/Alt key.)
Paragraphs and new lines
By default when you press Enter or Return in an email builder text block, a new paragraph is created. To create a new line instead, press Shift + Enter or Shift + Return instead.
Personalization
You can type personalization tags directly into a text block, and they will be swapped with the recipient's relevant data at send time.
Personalization tags can also be used to form a URL when adding a link to text. For example:
http://[customdomain].example.comThe insert menu
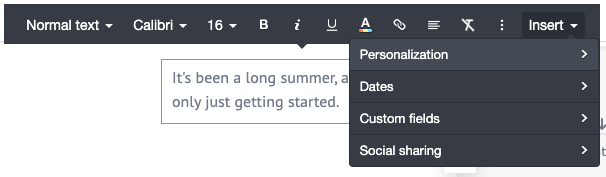
The Insert menu in the text block toolbar provides quick access to insert personalization tags into your text block. They are organised into sub menus, as shown in the image below.
Personalization
These personalizations are available to every list, and include:
- First name
- Last name
- Full name
Dates
Date personalizations that are replaced at the time of sending, and include:
- Current day
- Current day name
- Current month
- Current month name
- Current year
Custom fields
The "Custom fields" sub-menu provides quick access to all your lists and their custom fields.