When using the email builder, you can drag and drop an "Image" block into a section column, then upload an image, browse our free image gallery, or point to a URL where an image is hosted.
Upload images
To upload an image from your device:
- Drag and drop an "Image" content block from the "Build" menu on the left into a section column.
- In the left sidebar, click Upload image, then select your file to add your image. Alternatively, you can drag and drop the image from your file manager directly into the image block.
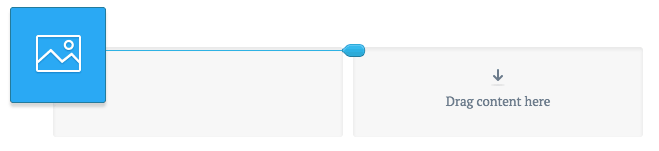
To adjust the width of an image so it lines up with the text in a section column, instead of the section border, select the Add image spacing checkbox.
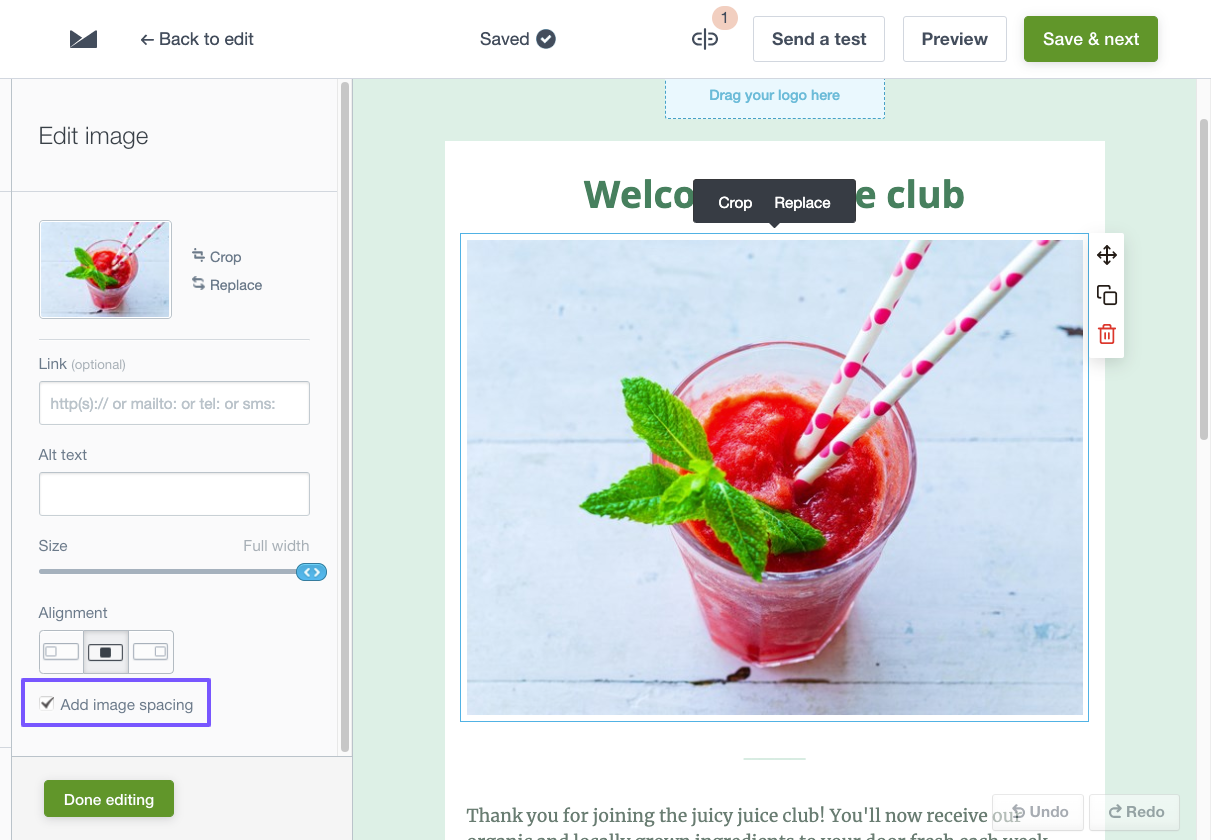
We recommend adding alt text to your images, as it will show when recipients have images turned off in their email clients.
Supported images
The email builder supports images up to 20MB in size. It's in your interest to keep file sizes as low as possible: large emails take longer to download, and may be blocked by some email servers.
We support the following file formats:
- PNG, including transparency
- JPG/JPEG
- GIF, including animated GIFs
Animated GIFs
Animated GIFs are supported in the email builder. They can be a great way to show off a feature, and introduce eye-catching movement to your email.
Some email clients, such as Outlook 2007?2019 on Windows and Windows Phone 7, only show the first frame of an animated GIF and don't play the animation. When using animated GIFs, make sure they look good for both those who can see the animation, and those who can only see the first frame.
You can test what your email looks like for both situations in the email builder. When designing your email, only the first frame is shown. To see the animated version, click the Preview button.
You can resize an animated GIF in the email builder and it will continue to animate. However, if you crop an animated GIF it will be resaved as a static image. To get the animated version back, you will need to reupload the original file.
Image resolutions
The email builder supports uploading images with very high resolutions, however any image larger than 1.5x the maximum column width in an email (whether on desktop or mobile) will be resized down to the 1.5x width limit. This is wide enough to work well with Retina/HiDPI displays.
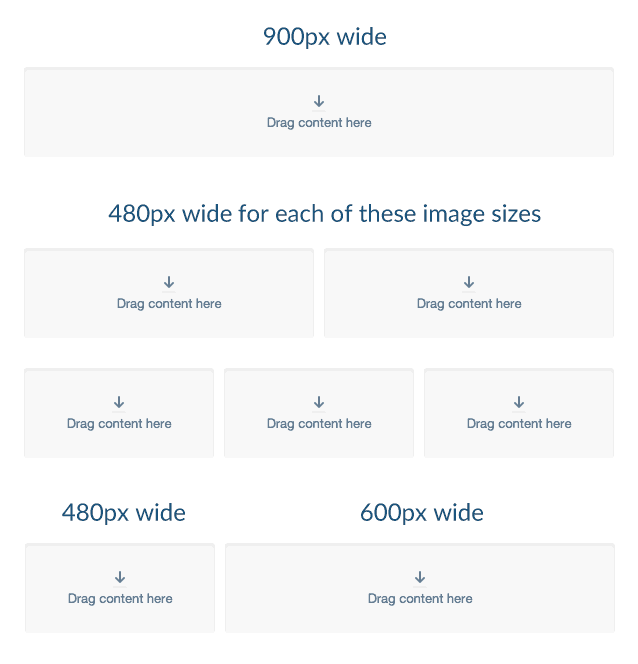
For the best results, you'll need to take into account the maximum column widths for both desktop (600px) and mobile (320px) emails, and how content is resized when shown on a mobile device.
To get the best results for each section layout, upload images with the widths shown below:
Incorrectly rotated images
If an image is taken by a mobile phone or digital camera, it will contain EXIF data. Among other information, EXIF may record what the "proper" orientation of an image is. How this is interpreted by applications can differ, with images potentially being displayed in the wrong orientation.
To fix an incorrectly rotated image:
- Open the image in an image editing program.
- Rotate it if necessary.
- Export the image to a web-ready format, which should remove the EXIF data.
- Upload your fixed image.
Uploading issues
Images will appear to never finish uploading if:
- The image is corrupt.
- There are strict corporate firewall rules preventing the upload from completing.
If you are still having trouble uploading, a browser extension may be getting in the way, or you may be using an older browser. Disable any extensions you may be using, or update to a newer version of Chrome, Firefox, Safari, or Microsoft Edge and try again.
Resize and crop
To get things looking just right, you can resize and crop images you've uploaded in the email builder. Unless you're cropping an animated GIF, you can also return to the original image you uploaded at any time, by returning the resize and crop settings to their original values.
If you're using images from a URL, you'll need to resize and crop them outside the email builder.
Resize
To resize an image in the email builder:
- Click the image.
- In the left sidebar, adjust the "Image size" slider.
For extra precision, you can adjust the width of an image in 1px increments by clicking the "Image size" slider, then using the arrow keys on your keyboard.
Crop
To crop an image in the email builder:
- Click the image.
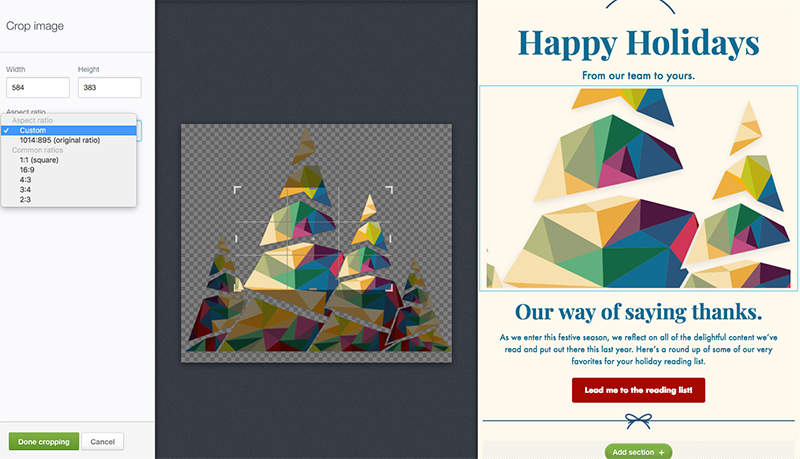
- In the left sidebar next to the image preview, click Crop to open the cropping tool.
- Drag the crop handles to your desired size. You can also move the crop area by clicking inside it, then dragging.
- Click Done cropping.
To lock the aspect ratio when you're adjusting the size of the crop area, select a ratio from the dropdown menu. To freeform crop, set the aspect ratio to custom.
Images from a URL
When you add an image to the email builder by uploading it, the image is hosted on our servers, meaning you can't overwrite it or serve dynamic images. With the image from a URL feature, you host the images on your own server, giving you complete control.
You could use this feature to change an image in an email over time, and you can even personalise images for your recipients.
To add an image from a URL:
- Drag and drop the image content block from the "Build" menu on the left into a section column.
- In the left sidebar, below "Enter image URL", enter the URL that points to your image file.
There are certain conditions when using this feature that can prevent an image from loading, leading to unintended results. See "Tips for web-based images" below.
Tips for web-based images
Linking to images on a web server instead of uploading them to the email builder comes with a few extra considerations:
- You must have an image already uploaded to a server before adding it to an email design, so the email builder can set the appropriate width. Otherwise, the width will be set to 100% of the column the image is in, meaning smaller images will be stretched.
- You are responsible for the images being available online as long as they need to be.
- Only link to image files that you control. Images hosted by other people can easily be swapped out for different images that use the same name, or can be removed at any time.
- Some email clients cache images. This means if you swap an image on your server after somebody has opened your email, instead of seeing the new image they may still see the same image that loaded last time they opened their email.
- If you're using this feature to serve ads, and your ad server is location-based, and the person editing the email is not in that location, the email builder may not be able to resolve the image. In this case, the width will be set to 100% of the column the image is in, meaning smaller images will be stretched.
- If you are using this feature to serve ads, ad blockers can prevent the image from resolving. When designing an email, please turn ad blockers off.
Personalised images
You can use the image from a URL feature to personalise images for your recipients. For example, to show your subscribers personalised images of the cities they live in, you would first need to create the images of the cities: San Francisco, London, Sydney and so on, then upload them to your server.
You can then use personalization in image URLs to show the relevant city based on a subscriber's custom fields. For example:
https://www.example.com/images/[Location,fallback=city].pngWhen an email is sent containing this link, [Location,fallback=city] is replaced with the subscriber's city, stored in their "Location" custom field. For example, if a subscriber lives in Sydney, the image URL would be:
https://www.example.com/images/Sydney.pngIn the example above a fallback of "city" has been set, which would load a generic image of a city with the filename city.png. If a subscriber has not chosen their city, the following image URL would be used:
https://www.example.com/images/city.pngWhenever using personalization with images from a URL, it is a good idea to test your emails using multiple subscriber details before doing the final send.
Another way to personalise content in the email builder is with dynamic content.
Free image gallery
An alternative to using your own images is to source them from our free image gallery:
- Drag and drop the "Image" content block from the "Build" menu on the left into a section column.
- In the left sidebar click Browse free images.
- The first time using the tool you will need to click to Accept the license of the image provider.
- Type a topic into the search bar to narrow down the kind of image you're looking for.
- Scroll through the search results and choose one that works for your email.
- Click Continue to edit if you want to resize or crop, add a link, or use any of the standard image adjustments.